How to Calculate Decay Time Reverb: The Ultimate Guide
Master the art and science of calculating reverb decay time (RT60) with our comprehensive guide. Learn professional techniques, understand acoustic principles, and use our interactive calculator to achieve perfect reverb settings for any space.
Understanding Reverb Decay Time: The Heart of Great Acoustics
Ever wondered why some rooms sound amazing while others feel flat and lifeless? The secret lies in reverb decay time—the magical number that determines how long sound lingers in a space. Understanding how to calculate this value is like having the superpower to predict and control how any room will sound.

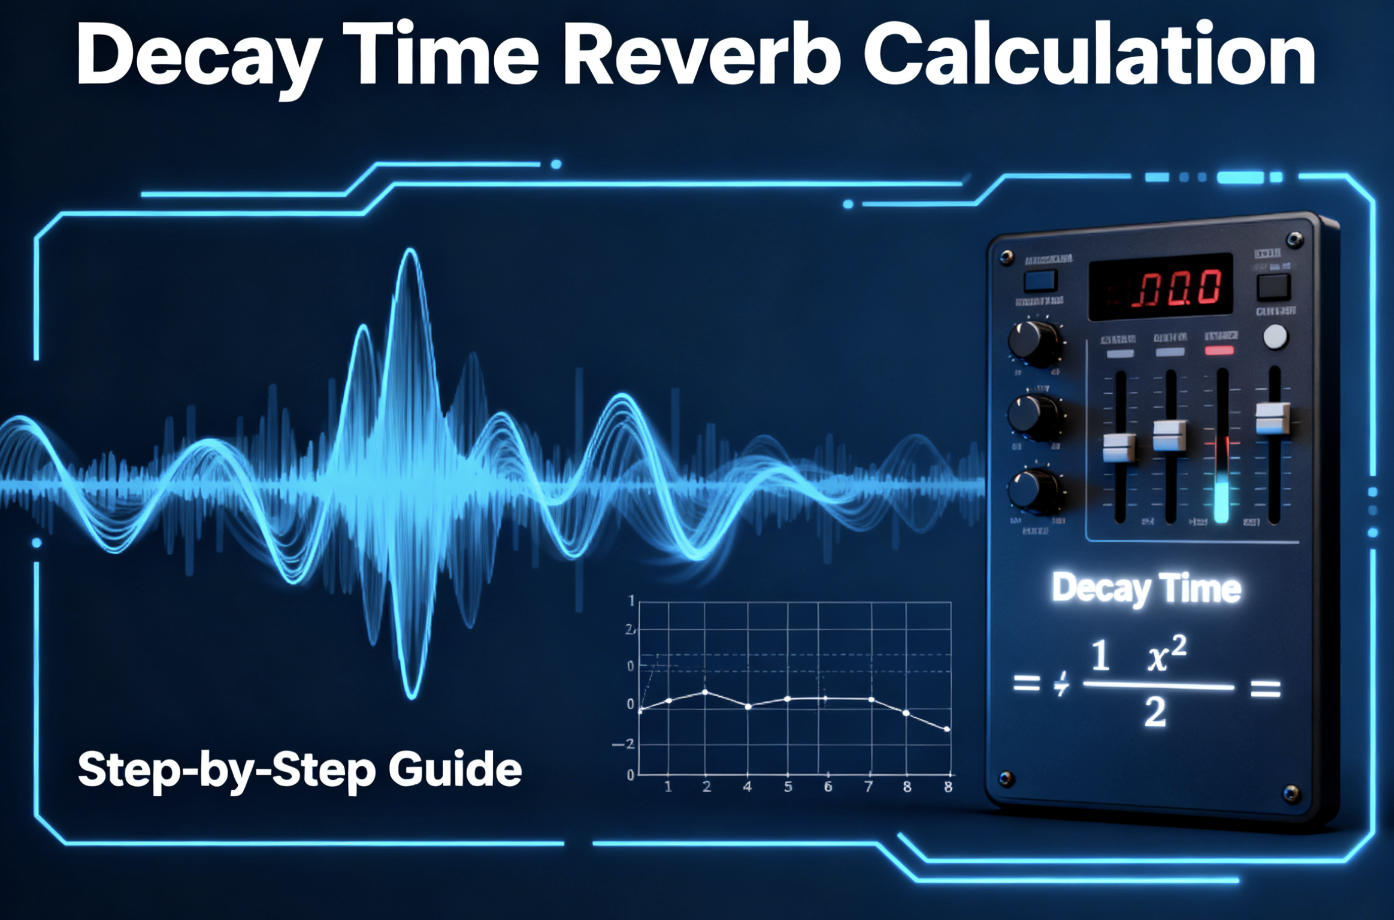
Sound decay visualization: RT60 represents the time for sound to decrease by 60dB
Reverb decay time, technically called RT60, is simply the time it takes for a sound to fade away by 60 decibels after the source stops. Think of it as the acoustic "tail" of your sound. Too short, and your room sounds dead and unnatural. Too long, and everything becomes a muddy mess. Getting it just right? That's where the magic happens.
Why Should You Care About RT60?
- • Musicians: Choose the perfect recording spaces and reverb settings
- • Producers: Create realistic virtual spaces that sound natural
- • Audio Engineers: Solve acoustic problems and optimize room treatment
- • Architects: Design spaces with ideal acoustic properties
- • Home Studio Owners: Transform your room into a professional recording space
The beauty of understanding decay time calculation is that it transforms acoustic treatment from guesswork into a precise science. Instead of randomly placing acoustic panels and hoping for the best, you'll know exactly what your room needs and where to put it.
Perfect Decay Times (The Sweet Spot)
- ✓Home Studios: 0.2-0.4 seconds
Clear, controlled recordings - ✓Living Rooms: 0.4-0.6 seconds
Comfortable for conversation - ✓Small Venues: 0.8-1.2 seconds
Intimate but lively
Problematic Decay Times
- ✗Too Dead (<0.2s): Sounds unnatural
Like recording in an anechoic chamber - ✗Too Live (>2.0s): Muddy and unclear
Speech becomes unintelligible - ✗Uneven Frequencies: Coloration
Some frequencies linger longer than others
Applying Your RT60 Knowledge: Real-World Scenarios
Setting Up Your Home Studio
Target RT60: 0.2-0.4 seconds across all frequencies
Quick Treatment Plan:
- • Add bass traps in corners (tames low frequency decay)
- • Install absorption panels at reflection points
- • Use a thick rug on hard floors
- • Hang heavy curtains over windows
Result: Clear recordings, minimal room coloration, professional sound
Optimizing a Live Room
Target RT60: 0.6-1.0 seconds for musical ambiance
Balanced Approach:
- • Mix absorptive and reflective surfaces
- • Use diffusion to scatter sound reflections
- • Keep some natural room tone
- • Avoid over-deadening the space
Result: Musical, inspiring recordings with natural ambience
Mixing Room Setup
Target RT60: 0.15-0.25 seconds for critical listening
Professional Treatment:
- • Heavy broadband absorption
- • Strategic diffusion behind speakers
- • Ceiling clouds above listening position
- • Proper speaker placement
Result: Accurate monitoring, reliable mixing decisions
Podcast/Vocal Booth
Target RT60: 0.1-0.2 seconds for speech clarity
Voice-Optimized:
- • Close-mic technique with proper pop filter
- • Absorption around microphone area
- • Minimize early reflections
- • Focus on mid-range absorption
Result: Professional broadcast quality, clear speech
Common RT60 Problems and How to Fix Them
Problem: RT60 Too Long (Echoey Room)
Symptoms:
- • Speech sounds muddy and unclear
- • Multiple echoes overlapping
- • Difficulty hearing details in music
- • "Ringy" or "boomy" character
Solutions:
- • Add broadband absorption panels
- • Install bass traps in corners
- • Use thick carpets and rugs
- • Hang heavy curtains or acoustic drapes
- • Add bookshelves and upholstered furniture
Problem: RT60 Too Short (Dead Room)
Symptoms:
- • Sounds unnaturally quiet
- • Lack of musical ambiance
- • Recordings feel lifeless
- • Ear fatigue when listening
Solutions:
- • Remove some absorption panels
- • Add diffusion panels or diffusers
- • Introduce reflective surfaces strategically
- • Leave some walls bare or partially treated
- • Use wooden furniture instead of upholstered
Problem: Uneven Frequency Decay
Symptoms:
- • Bass notes linger longer than treble
- • Boxy or honky midrange
- • Some frequencies sound louder than others
- • Inconsistent reverb character
Solutions:
- • Add targeted bass traps for low frequencies
- • Use membrane absorbers for problem frequencies
- • Apply different materials for different ranges
- • Consider Helmholtz resonators for specific issues
- • Measure and treat frequency-specific problems
Pro Tips for Perfect Reverb Decay Time
The Golden Rules
- 1Measure Twice, Treat Once: Always measure your room's current RT60 before spending money on treatment. You might be surprised at what you find.
- 2Start with Bass Traps: Low frequencies are the hardest to control. Corner bass traps give you the biggest improvement per dollar spent.
- 3Trust Your Ears: Calculations are guides, not gospel. If it sounds good, it is good. Your ears are the final judge.
Advanced Techniques
- 4Use Diffusion: Don't just absorb everything. Strategic diffusion creates natural-sounding spaces without killing the energy.
- 5Consider Ceiling Height: Taller ceilings naturally have longer decay times. Account for this in your calculations and treatment strategy.
- 6Seasonal Changes: Humidity and temperature affect sound absorption. Your room might sound different in summer vs. winter.
Your Journey to Acoustic Excellence Starts Here
Understanding how to calculate reverb decay time is more than just crunching numbers—it's about gaining control over your acoustic environment. Whether you're recording your next hit song, mixing a professional album, or creating the perfect listening room, RT60 knowledge gives you the power to transform any space into an acoustic paradise.
Remember, great acoustics is a journey, not a destination. Start with measurements, make targeted treatments, and always trust your ears. With the knowledge and tools from this guide, you're well-equipped to create spaces that sound truly amazing.